Still learning…I decided to try this quilled tea-set after I saw some examples on the internet.
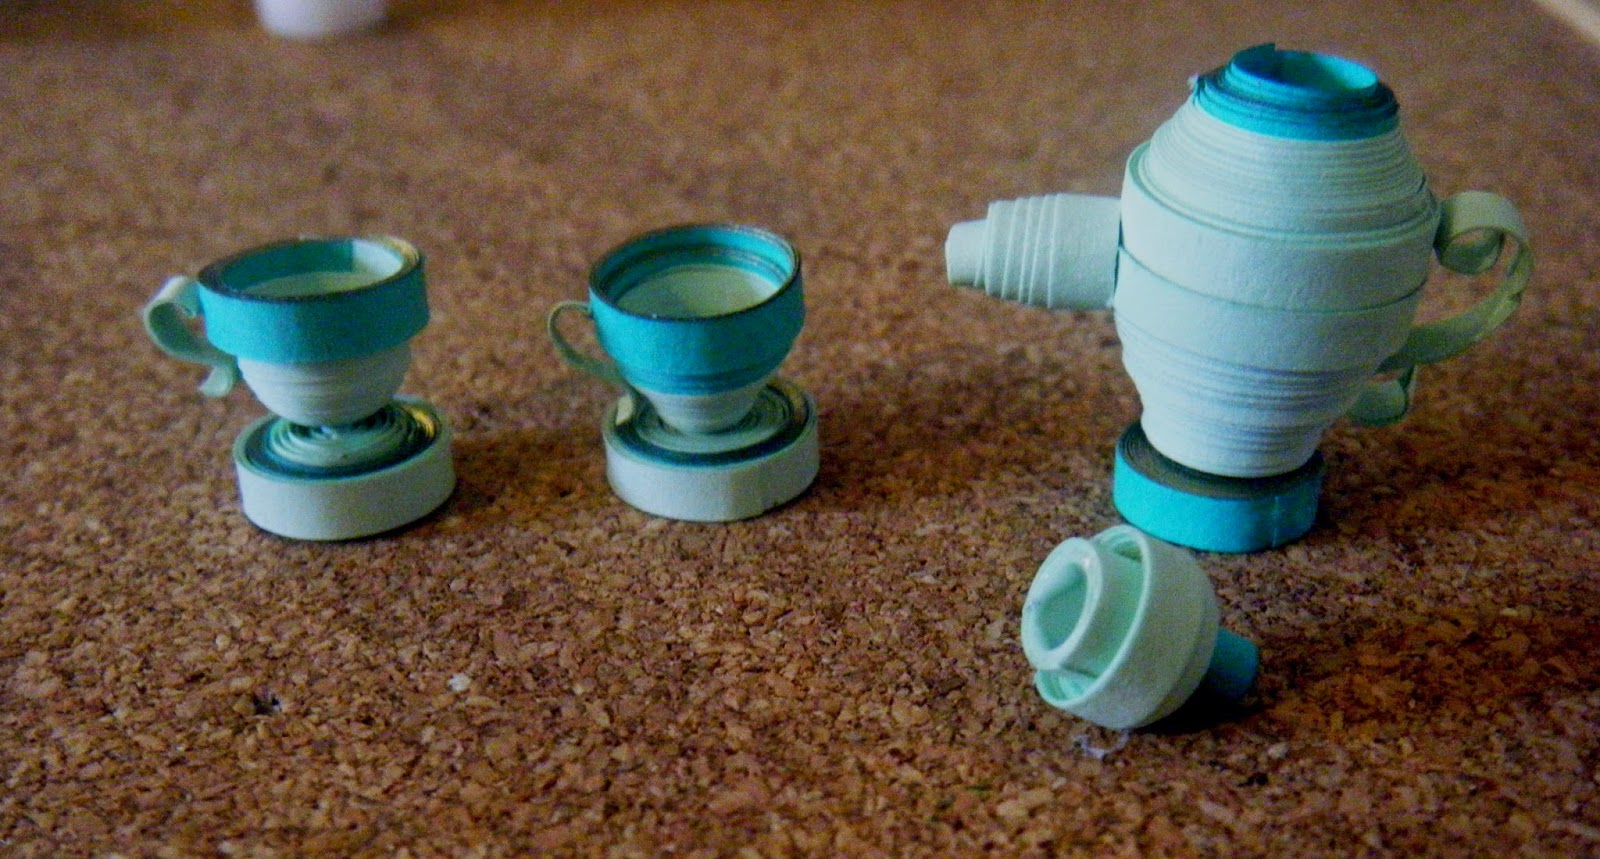
I used two shades of green. The darker
shade has a gold edge which stands out nicely when tightly coiled. As you can see, the lid comes off! The teapot on its own stands at 1 inch. The cups are 1 cm tall.

I also made some quilled cupcakes to have with my tea :)

How to make your own quilled tea-set with some yummy cupcakes:
Tea-set
Tutorial: The saucers and the tray under the tea-pot were all made
from tight coils, with an extra attachment of dark green with gold edge. I glued the tray under the teapot to get it to stand as mine kept falling over. However if you gently tap the inside of the dome with some tool (like the flat bottom of a pen or pencil) then you can get it to stand on its own with no need for the tray (which was, obviously, something I forgot to do lol).
The cups also have a dark green strip attached for the
rim with a gold edge. Same with the top half of the teapot and the knob on the lid
(see pix)
The teapot was made with two domes attached .
As you can see each rounded part started as a tight coil
and was then given its individual shape. I brushed the inside of each dome with glue to
secure them and keep the shape intact.
Cupcakes: The yellow and cream ones in the picture above are made from grape rolls. The decoration was made by just randomly rolling little bits of quilling paper and gluing on. The brown (chocolate) ones were left flat with a white strip glued in the middle to look like cream filling.
Cupcakes can be any shape from round, to square to triangular and dome-shaped or flat. Make tight coils, shape accordingly and decorate. Look at pictures of various cupcakes or even in the supermarket for ideas.
Cupcakes can be any shape from round, to square to triangular and dome-shaped or flat. Make tight coils, shape accordingly and decorate. Look at pictures of various cupcakes or even in the supermarket for ideas.
Check my page Quilling Away on Facebook for the smallest ever tea-cup...it's part of a project I am working on which I will share once it's finished.
Added on 15/06/2014: Check here for my finished project :)
Added on 15/06/2014: Check here for my finished project :)
No comments:
Post a Comment