Saturday, 14 February 2015

Quilled Guitar

Valentine's Day is here and what better gift for a loved one than a lovingly quilled item. Hubby loves music so I decided to quill a miniature guitar for him. Here's what I did:

I'm not an artist so I took the roundabout way ;) 

I found a google image that I liked and drew it on a piece of paper - ok I cheated and held the paper against the screen of my laptop and copied the image. I do that often as I said ^^ I'm really not a good artist :) 


I cut out the paper image and used it as a template to make another template on card stock. Then used the card stock template to make the actual model. Got it? If you're an artist you could probably just draw your picture straight on to the card you're going to use.  


For the actual model I chose a stiff brown card with gold print on it which I thought would be nice for this project. 


The card was one-sided with a white backing so I cut out two mirror images and stuck them back to back.   


I applied glue to the sides of the shape and attached a 3 mm strip all around. (I chose maroon, but any colour will do) This gave me the outer shell. 


I filled in the top using the beehive technique.  


The strings were made using fine florist wire. The keys are small tight coils using 2 mm cream pearlised strips. I added tiny roses for the knobs and buttons. (For my tutorial on two methods for making quilled roses check here)


And there you have it. A cute little 3 1/2 inch guitar!  Hubby loved it and put it right next to his real guitar :) 

For more examples of my work please visit my Facebook page Quilling Away If you have any questions please feel free to ask and I'll try to help. If you do use any of my tutorials or ideas please do add a link/refer to my blog or facebook page. Thanks. 

Updated 04/03/2015: Hubby wanted to have it in a more public place so I cut out the shape on magnetic paper, stuck it on and now we have a cute fridge magnet! 


Monday, 10 November 2014

Christmas Cards, Gift tags, Christmas ornaments and more

Here are some of my cards, gift tags etc. Check out my facebook page Quilling Away here to see more. Please feel free to contact me either here or on my facebook page if you have any queries. Thanks


Monday, 20 October 2014

Etsy

After a bit of coaxing from some dear friends I finally took the plunge and put a couple of things on Etsy :) .  Please do visit my Etsy page and  add to your favourites. 

To check out my shop click here 


Or here  


Watch this space for more listings. 

(Added 24/10)Here...as promised are more of my listings on Etsy :) 
You'll find the cute little angels here

and here


Saturday, 27 September 2014

What is Quilling?

Quilling is a lovely old art form which some believe may date back to ancient Egypt. It has been known by many names including paper-rolling, paper-scrolling, filigree, paper mosaic. It is theorized that early quillers rolled their papers on a feather, or quill, hence the name quilling. Through the years its popularity has waxed and waned.

French and Italian nuns during the 16th and 17th centuries, decorated reliquaries and holy pictures with quilling. During the regency and Victorian eras, young ladies of affluence were taught paper filigree just as they were taught needlework. They decorated furniture, tea caddies, and boxes which were made with recessed sides specifically to accommodate quilling. The quilling during this period was quite “heavy” by our standards. Every inch of space was covered with tiny coils and shapes. Mica, wax chips and flaked shells were often added. References to quilling and patterns were published in magazines in the 1700s.


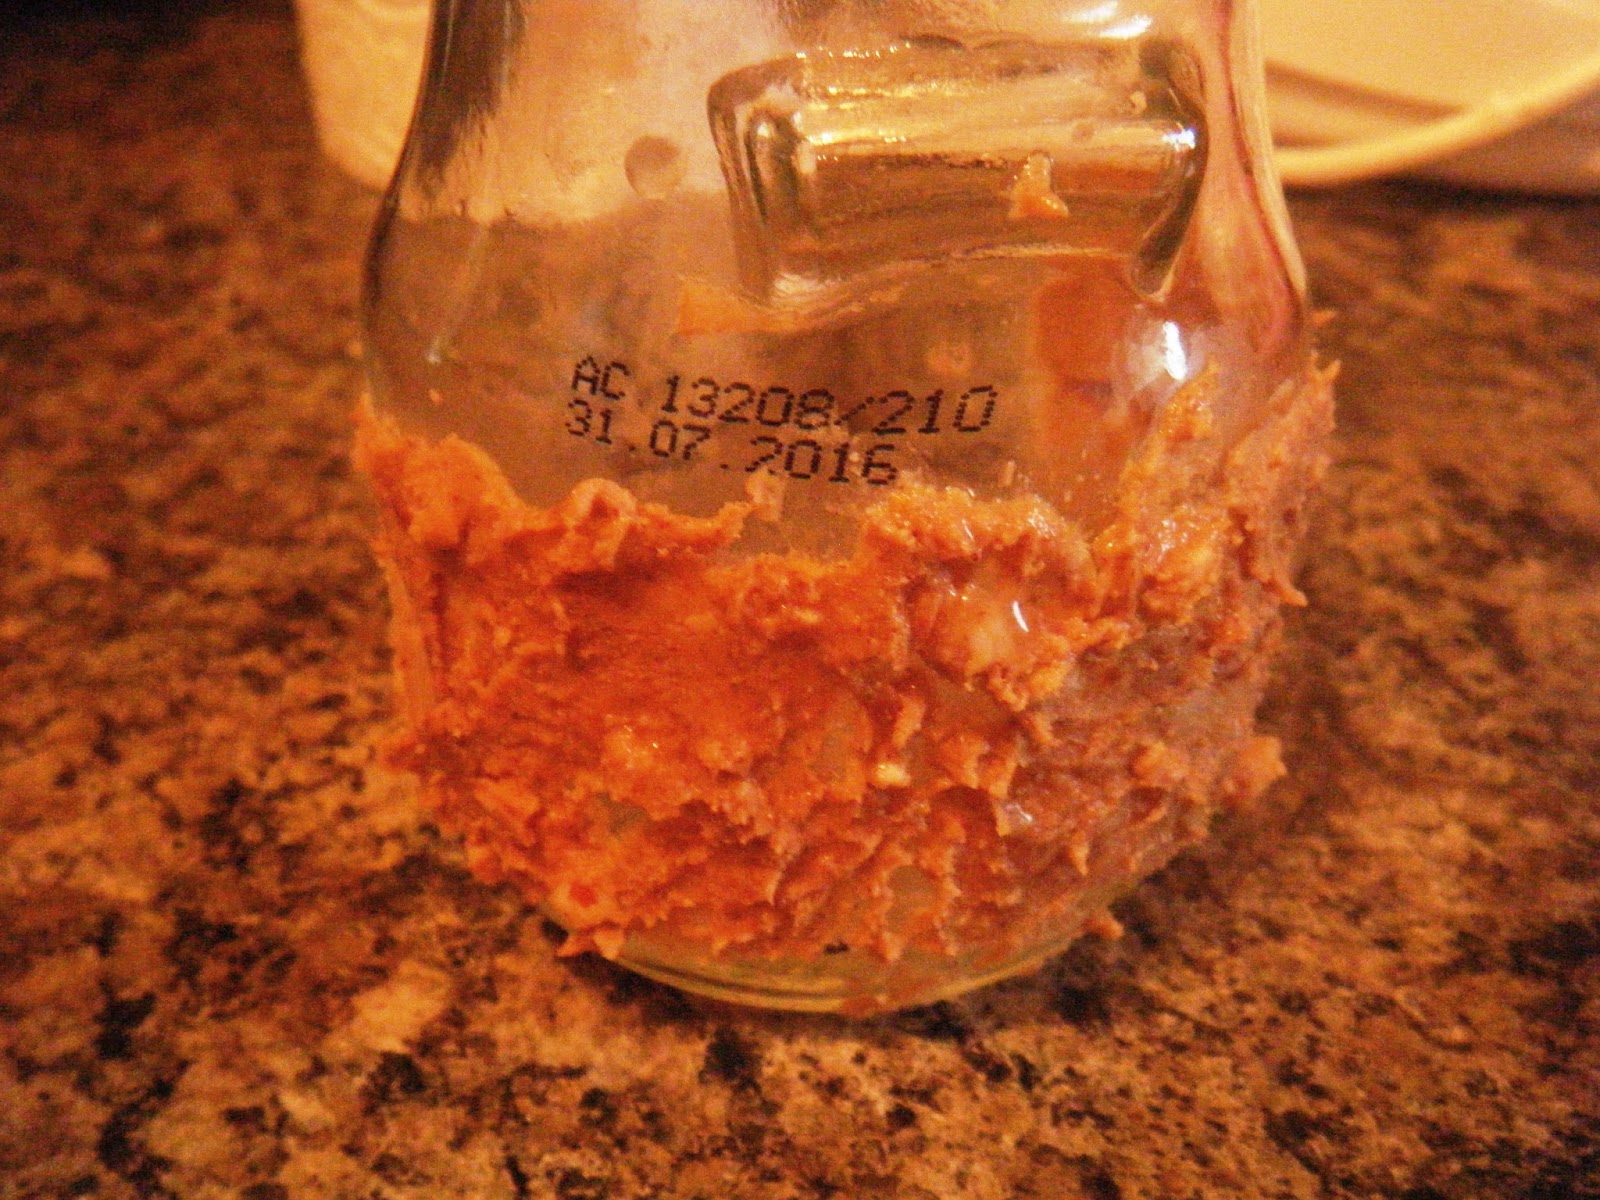
How to remove stubborn label from jars.

HOT TIP: Do you have a nice shaped jar that would make a pretty base for your quilling but can't get rid of the glue from the label? 
Take off as much of the label as possible (pix 1). Then coat the area with peanut butter - yes, peanut butter! 

Leave for a few hours (Pix 2). I usually leave it overnight. 

Wash it off and you'll be left with a squeaky clean jar without those annoying glue stains (Pix 3).


Friday, 22 August 2014

How to make your own Border Buddy - with a difference!

How to make a border buddy with different shapes for jewellery.

 The method is the same as my tutorial on making a  simple box (please read that one first – before you try this as it has more explanations/diagrams) with just a slight variation. You can make hexagons, octagons, star shapes etc.  

Tools needed: stiff paper (cardstock/chart paper etc.), cardboard, glue, scissors/exacto knife, pencil, ruler.
As with the box tutorial, you’ll have to decide on the size of your model. You’ll also have to decide on the shape/ number of folds according to your design.
Tip:  Try it out with some rough sheets of paper first. Don’t be afraid to experiment.

When you have decided on the size and shape, using the method in my box tutorial draw lines on the inside of your shape. (don’t forget the extra column for gluing, otherwise you might lose one side).

Now make strips with your cardboard that are the same size as each side/column on your shape. These will be used to reinforce and stiffen your shape once it is ready.

Once you have all your pieces together you’re ready to start.

As with the box, fold the paper inwards (mountain folds) using your lines as guides. In this case you need to score the folds well using your nail or ruler (or any other appropriate tool). The idea is to make a sharp crease.


Once the creases are done, cut little angles out of the spare column. Then fold your shape accordingly and glue the spare column to the inside of the first side. That’s your shape done.

Now to reinforce it glue each piece of cardboard to the insides of each column. This will stiffen it as well as make it easier to wrap the quilling strips around without losing shape. You might have to trim or adjust the cardboard to fit snugly inside, making sure each angle/corner retains its sharpness. Once you have all the sides done leave to dry.

There! your new border buddy is all done! You can now have earrings, pendants etc that are not just circles, triangles or squares. Enjoy.

In the diagrams below you'll see my two experiments. 

Note: on the bottom one all the folds are mountain folds except the last one which is a valley fold, to give it a different design. 


Here are the results: 


PS: As you can see - you can also use valley folds (fold your paper outwards) to create other shapes such as stars. To make a multiple  sided star just use the accordion fold and glue at the end. 

Please do refer to my blog if you use any of my tutorials or ideas. Thanks. 

Please feel free to leave a comment and visit/like my facebook page here


Sunday, 10 August 2014

How to make a box - simple tutorial.

Here is a simple tutorial on how to make a box for your 3D quilling or even a card. The diagram is just to give you an idea. You’ll have to decide on the size of box according to your need.

Materials: Card stock, glue, scissors, ruler, pencil - and coloured paper if you want to cover/decorate the box when it’s done.

If you’re planning to decorate the outside of your box then it does not matter what kind of card you use – recycling is the name of the game so even an empty cereal box will do. Other suggestions: wallpaper scraps, pages out of an old calendar, magazine covers etc. Just remember that the material needs to be slightly stiff and sturdy enough to hold your quilling especially if you’re planning on mailing it. Cardboard won’t work though, as it tends to break.  

1.   Draw four lines on the wrong side of the card (the part that will be the inside of the box). The distance from each line will depend on what you are using it for. So you can have a box that is equal on all sides (for a 3D piece) like the first picture or narrower on two (opposite) sides (for a card) like the second picture. 

2.   Now draw a fifth line on one side of your diagram. This will be narrower than the other four. Note…if you’re making the box with a card in mind, then this fifth side can be the same size as your narrower sides (see pix below)


3. Using your ruler fold down all the lines going inwards (mountain fold). 


4. Now make cuts along the lines on both ends. These will form the top and bottom flaps of your box 

5. Fold these flaps inwards as well. You’ll notice that it already looks like a box and holds quite nicely.


6.   Cut off triangles from the two ends of each flap and also from the fifth (narrower) column. Your box is almost ready.


7.  Apply glue right down the extra column and stick to the inside of the box. Then close off one end by gluing the flaps. There your box is ready. You can now decorate it if you like.


Here is the one I made from a cereal box for my 3D turtle